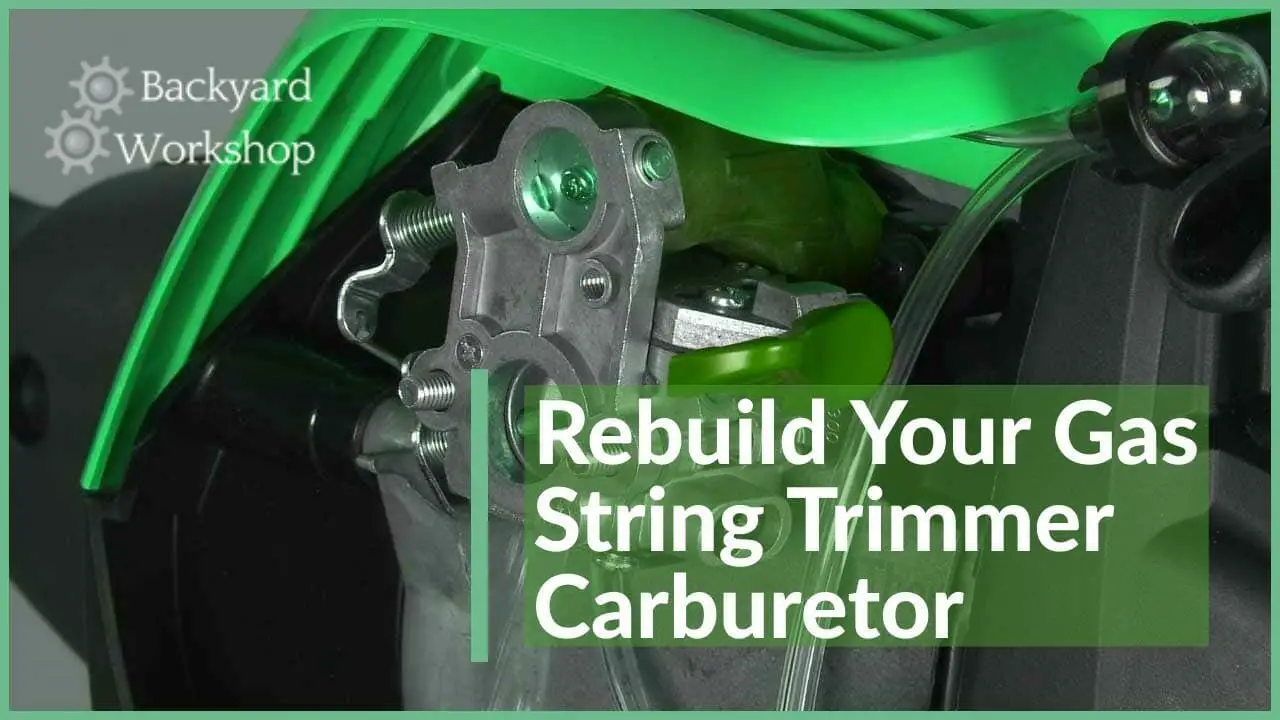
How to Rebuild a Weed Eater Carb

Weed eaters are used by people to trim and cut the weeds that are growing in the gardens. Typically, these weeds are grabbing nutrients intended for the floras that these individuals, themselves, have intentionally planted. This is one of the main reasons why they are considered pests and need to be trimmed and cut down. Another reason is that the beauty of the gardens or the lawns are destroyed by the presence of thick and untamed weeds.
A weed eater is composed of different important parts. For your weed eater to properly function the way it is supposed to, you should make sure that all of these components are in good working condition. One of them is the carburetor or what is referred to simply as the carb. The function of the carb is to provide the proper amounts of air and fuel mixture to the engine of the weed eater. If your carburetor does not work, it would be more practical and cheaper to rebuild the carburetor than to buy a great new weed eater or send the machine to a repair shop. Here are the steps on how you can rebuild your weed eater carb.
Tools you’ll need:
- Screwdrivers – flat head and phillips.
- Rags or disposable towels.
- (Optional but encouraged) – a digital camera (like on your phone) to take pictures of where various parts are removed from. It makes putting the renewed carb back together MUCH easier.
Step 1: The first step is to purchase a replacement carburetor or a rebuild kit. You can actually buy this kit for a certain amount yet the price will surely be way cheaper than buying a new trimmer or sending it in for repairs. There are a lot of establishments that sell such kit. You can go to the nearest hardware store in your area. You may even place an online order for a carb on a specific website. Wherever you will be purchasing this component, you should make sure that you will only be making your purchase from a reputable seller. This way, you can assure yourself that the item will work once you attach it to your own weed eater.
Step 2: A rebuild kit typically consists of a wide variety of small sized components. These components are general items. This means that each of them are applicable to three or four models of carburetors. They are not utilized specifically for only one model.
Because of this, you will often be left with extra parts once you finish a weedeater carb rebuild. Don’t panic – it’s normal.
Step 3: On the back side of the carburetor, you will see the primer bulb being held in place by four small screws. Using a flat-head screwdriver, remove these screws. DON’T LOSE THE SCREWS – keep them somewhere safe but easily-accessible.
Step 4: After unscrewing the screws, the diaphragm gasket will fall out. This is the part of a carb that usually and commonly gets damaged. Check this part for damage, or wear and tear. It does not have to be replaced if it nice and soft. If it is brittle and easily snaps, replacement is necessary.
Frankly, you might want to replace it even if it seems fine. They do eventually wear out, and you are taking the time NOW to rebuild your string trimmer carb, right?
Step 5: You will need to remove one more screw – this time, to check on the push valve and the floater. These items may also need replacement so that your weed eater will be working properly. A push valve or floater that is bent needs to be replaced. Those parts that are also showing discoloration or any other sign of wear and tear should also be replaced.
Step 6: Check to see that the surfaces of the carburetor are clean. Dirt may hinder the carburetor from performing its function. You can use a clean cloth as well as a carburetor cleaning solvent. Here’s our guide on cleaning a string trimmer carburetor.
Step 7: There are various holes in the carburetor. Specific and small sized parts will fit inside these holes, such as the floater and the push valve. You should make sure that you will be properly placing the right parts inside the correct holes. There is also a spring that needs to be placed inside a specific hole.
Step 8: After placing all the parts in their right places, you need to screw them back with the screws that you have removed earlier. You should make sure that all the screws are screwed tightly.

