Repairing The Electric Weed Eater Yourself – Is It Hard Or Is It Easy?

There is a lot of cleaning and maintenance that goes into taking care of an electric weed eater; some needs to be done before each and every use while other aspects need to be done after each and every use. After so many hours of use there are other certain aspects that need to be focused on; just like taking care of the oil and other fluids and parts in a car every so many miles you need to do certain things to an electric weed eater after so many hours of use to take care of it and to keep it in the best shape that it can be in.
Taking care of the electric string trimmer is not that hard to do, you can create a simple and easy routine to help get everything that needs to get done with each use done. Remember the basics such as keeping the equipment and everything clean; this means to always remove any debris from the machine. You can’ t properly use it when there is debris in the way and you can’t store it with debris because it will get stuck there, it will be harder to remove next time and it will be harder for the machine to work correctly.

Cleaning is just one of the major aspects that are involved with properly cleaning and repairing an electric weed eater that needs to be repaired. But cleaning it should prevent most of the repairs just like proper maintenance will do. More information about proper maintenance and what you need when repairing an electric weed eater is all mentioned below.
Proper Maintenance Aspects for an Electric Weed Eater
- When you are done using the electric weed eater, let it run idle for at least three to five minutes in order to let it cool down.
- You should never ever place the electric weed whacker down unless it is completely turned off.
- After checking for a loose belt and fixing it if there is one you need to then look over the cord and make sure there are no cuts in the cord; if there are wrap it up with some electrical tape.
- When using the electrical weed eater you need to always randomly clean the head of the machine, this means to always randomly remove the debris that is found at the head of the machine, near the nylon string in the machine and several other places as well.
- Removing the debris needs to be done for several reasons; not just because it will keep the machine clean and it will make it easier to use when cutting things but also because a buildup of debris under the head can actually be an extreme fire hazard.
What are some things that can go wrong with an Electric Weed Trimmer?
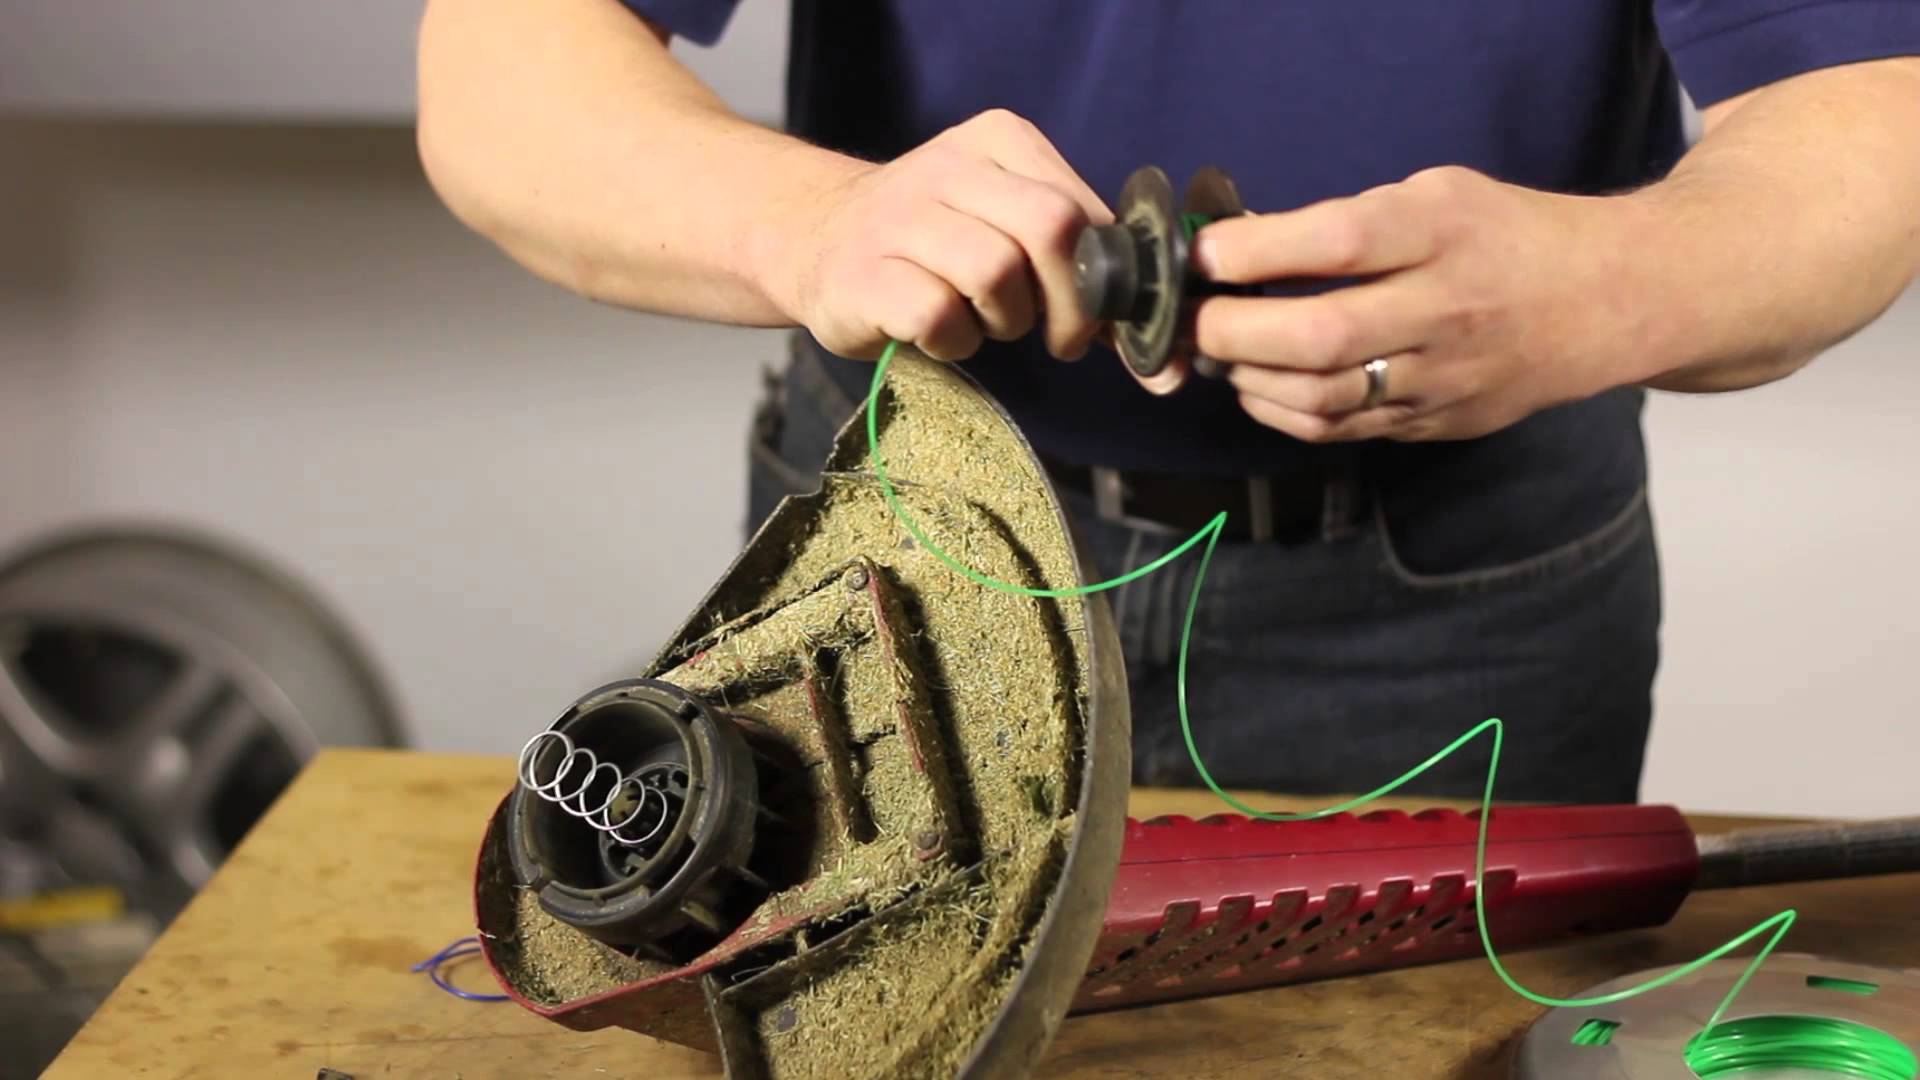
- The unit itself can run out of string
- The string can become twisted up or loose around the spool
- The head for cutting could be bent or dirty
- The cord, switch or motor could fail
- The air filter could be blocked
- The exhaust could be blocked
- The trimmer may need some lubrication to it
- The air pathways or what is known as cooling fins could be blocked
- If you have a cordless electric trimmer the battery could be faulty
Fixing the Problems Mentioned Above
Most of the problems only take a few minutes to fix and are all really easy to do. For the most part follow the instructions laid out in the owner’s manual to help guide you. Once you have done something once, you can do it again a lot easier the next time. Before you get started you should have a bucket of warm water, a sponge, some soap and a few tools needed to do routine check-ups such as a screw driver, extra air filter, some brake oil for lubrication where needed and dome dirt rags to wipe off with and clean up with. With that being said when you are done repairing what you need to fix and cleaning it all you need to make sure that it is completely dry before you go to store it.
The other articles may you concern, as this is by:

